
Welcome back to The Sims Resource! Today we’ll be continuing one of our latest blog series: TSR’s Book of Building with a guide to interiors. This series will take you step by step through every part of building a Sims home from empty room to fantastically furnished. Ready to get started on interior decorating? Let’s go!
1. What do you need in this specific room?

If you followed my last guide, you should have an empty house with windows and a floor plan dividing the house into rooms. Pick a room to furnish (I decided to start with the kitchen) and think about what you’ll need for the room–counters, a fridge, a sink, and a stove all come to mind for a kitchen, but for something like a bedroom you might need a bed and a dresser. Then consider the color scheme you want, as well as what kind of Sim you’re building for–a brooding vampire Sim and a retro kawaii Sim wouldn’t live in the same style house, after all! For this kitchen, I decided to work mostly in neutral tones since the Sims I’m building it for prefer them. Once you’ve done all your planning, we can move onto the fun part–furnishing!
2. Flooring

I like to put flooring down first for a few reasons. For one, it helps me to see just how much space I have to work with outside of the general floor tile count of the room. For another, it helps me to picture what the room’s final layout could be by making the room feel a bit more finished and less like a void that I’m staring into. In most kitchens, I like to put down tile flooring like I have here, but hardwoods work too (I just wouldn’t recommend a carpeted kitchen–too much opportunity for spills!). Picked out your perfect flooring? Let’s start choosing furniture.
3. Required Furniture

When I start a room, I like to place only the absolutely essential furniture pieces. This helps me to see where I need to put the required pieces as well as to help imagine the final floor plan of the space. For a kitchen, the required pieces are a fridge, a stove, and a counter. Once I have my required items placed, I think about where I want them to be–the fridge doesn’t quite fit where I’ve placed it, because it blocks the window, so I’ll likely have to reposition it along the right wall. Once I’ve made space considerations, it’s time to add additional furniture.
4. Additional furniture (including rugs)

This room sure feels a lot more full than it did in the last step! I know it seems like I did a lot of work, but I really just took all the counters I wanted to create an L-shaped kitchen and also grabbed a small table so that the Sims will have a place to eat. This step is full of experimenting–I tried to see if I could fit an island in this room, but the layout would have been way too cramped with a table and an island, so I decided on just the table. I also put down rugs in this step because they help to make the room feel a little more divided into “sections” based on the furniture–there’s a rug under the table, the “eating area”, and one under the sink, in the “cooking area”. Once you’ve got your furniture and rugs down, it’s time to decorate!
5. Decorations/Clutter

Decorating is probably my favorite step in this whole process! It makes a room feel much more “lived in” and realistic than the furniture alone does. You can add as many or as few decorations as you like, since it’s a very personal step of the interior design process. Some people like clutter all over every surface, while others like a single plant in each room. I like my decorations somewhere in the middle–I’ve added a few plants and paintings and a fruit basket, but there’s still room for the space to be usable. Decorated to your heart’s content? Let’s paint the walls!
6. Wallpaper
 You may be wondering why I wait until almost the end of the decorating process to paint the walls. For me, it’s a bit of a habit but also a bit intentional. By waiting to paint the walls, I can place all the furniture I like without worrying that it won’t match the wallpaper I’ve chosen–I prioritize having furniture I like over whatever wall color I end up with. I also find it less distracting to work without any colors or designs on the walls, though your mileage with this method may vary. If you like putting up wallpaper sooner, that’s fine! Once you’ve got it up, we can move on to lighting.
7. Lighting

I’ve taken you to an overhead view of the room so you can see the chandelier I’ve chosen for the kitchen. While I build, I like to use small, bright lights (the super-subtle saucer light is my go-to) before I place any decorative lighting. In spaces like bedrooms or living areas, lamps can be placed on end tables or near chairs as decorative and functional pieces, but since this kitchen doesn’t have a lot of non-counter surfaces I just went with a hanging light. Happy with your lighting? We’re almost done!
8. Anything additional you missed!
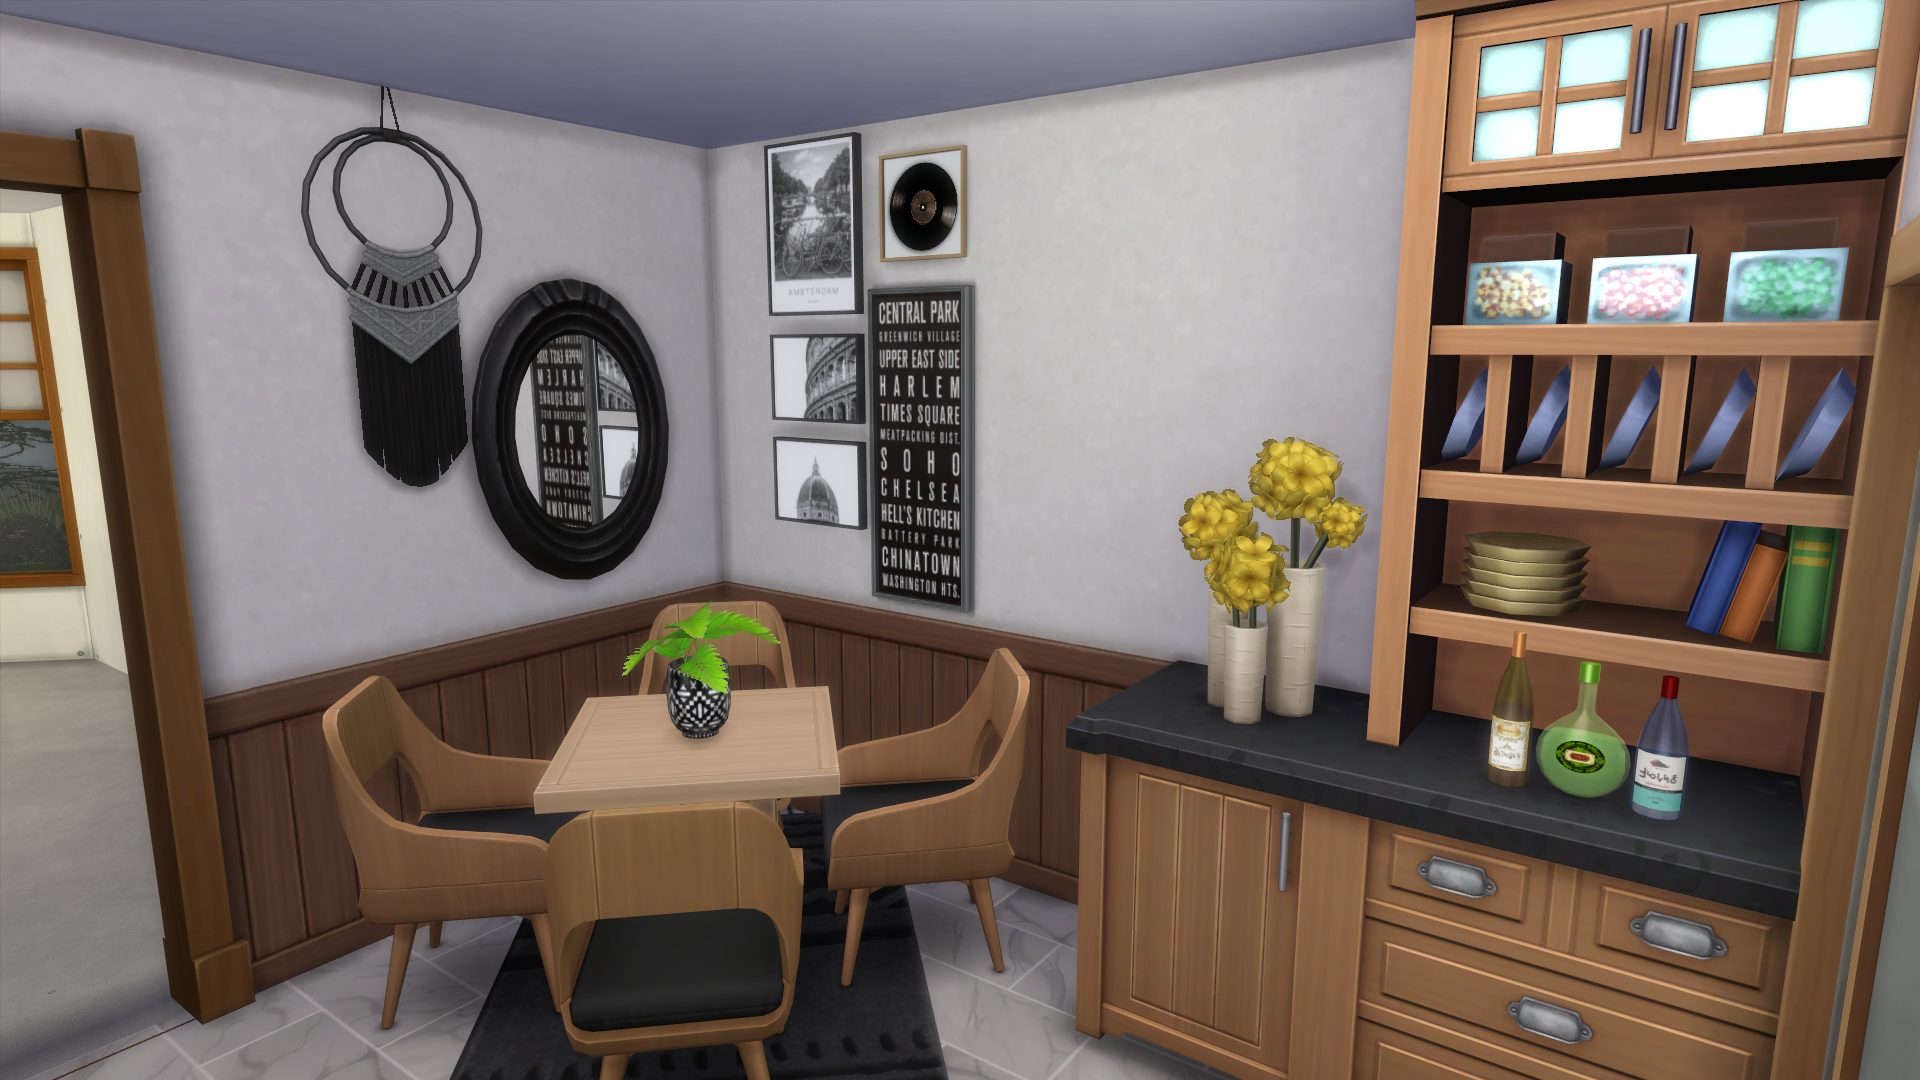
Your room is almost complete! Take a look around in live mode (it’s the best way to really get a feel for how the room will play) and see if there’s anything else you want to add–I decided on a black macrame wall hanging next to the mirror! Sometimes I reach this step and I make a major change to the color scheme or decorations in the room. If this happens to you, or you just aren’t happy with what you’ve created, don’t worry! It’s just a part of the creative process (a very annoying part, but a part nonetheless). Once you’ve made the few (or many) tweaks that you feel your space needs, you’re all set! You can move on to furnishing the rest of the house!
9. Repeat with all the other rooms!

Thanks for reading the second edition of TSR’s Book of Building: Interiors! Come back next time to learn all about yards and exterior decorating. Interested in more build content? Check out Book of Building: Exteriors or Room Reno: Arcane Atrium. Looking for something else? Read our Shang-Chi or All Stars 6 inspired lookbooks!