
Welcome back to part 3 of TSR’s Book of Building! Today, we’re learning all about landscaping and exterior decorating. Want to learn more about exterior building or interior design? Check out parts 1 and 2! Without further ado, let’s get learning.
1. Figure out what you want and need in your space.

As with interior decorating, exterior decorating starts with determining what needs you have for the space. This house is pretty centered on the lot, which means I have some space in front and on the sides for landscaping, and a bit more to work with in the back for some yard features. Since this household includes a child sim, I definitely want to include some kind of play equipment, as well as a patio area for her mom to work on her own skills. Now that I know what I need in this yard, I can move onto the next step.
2. Start with the big stuff.
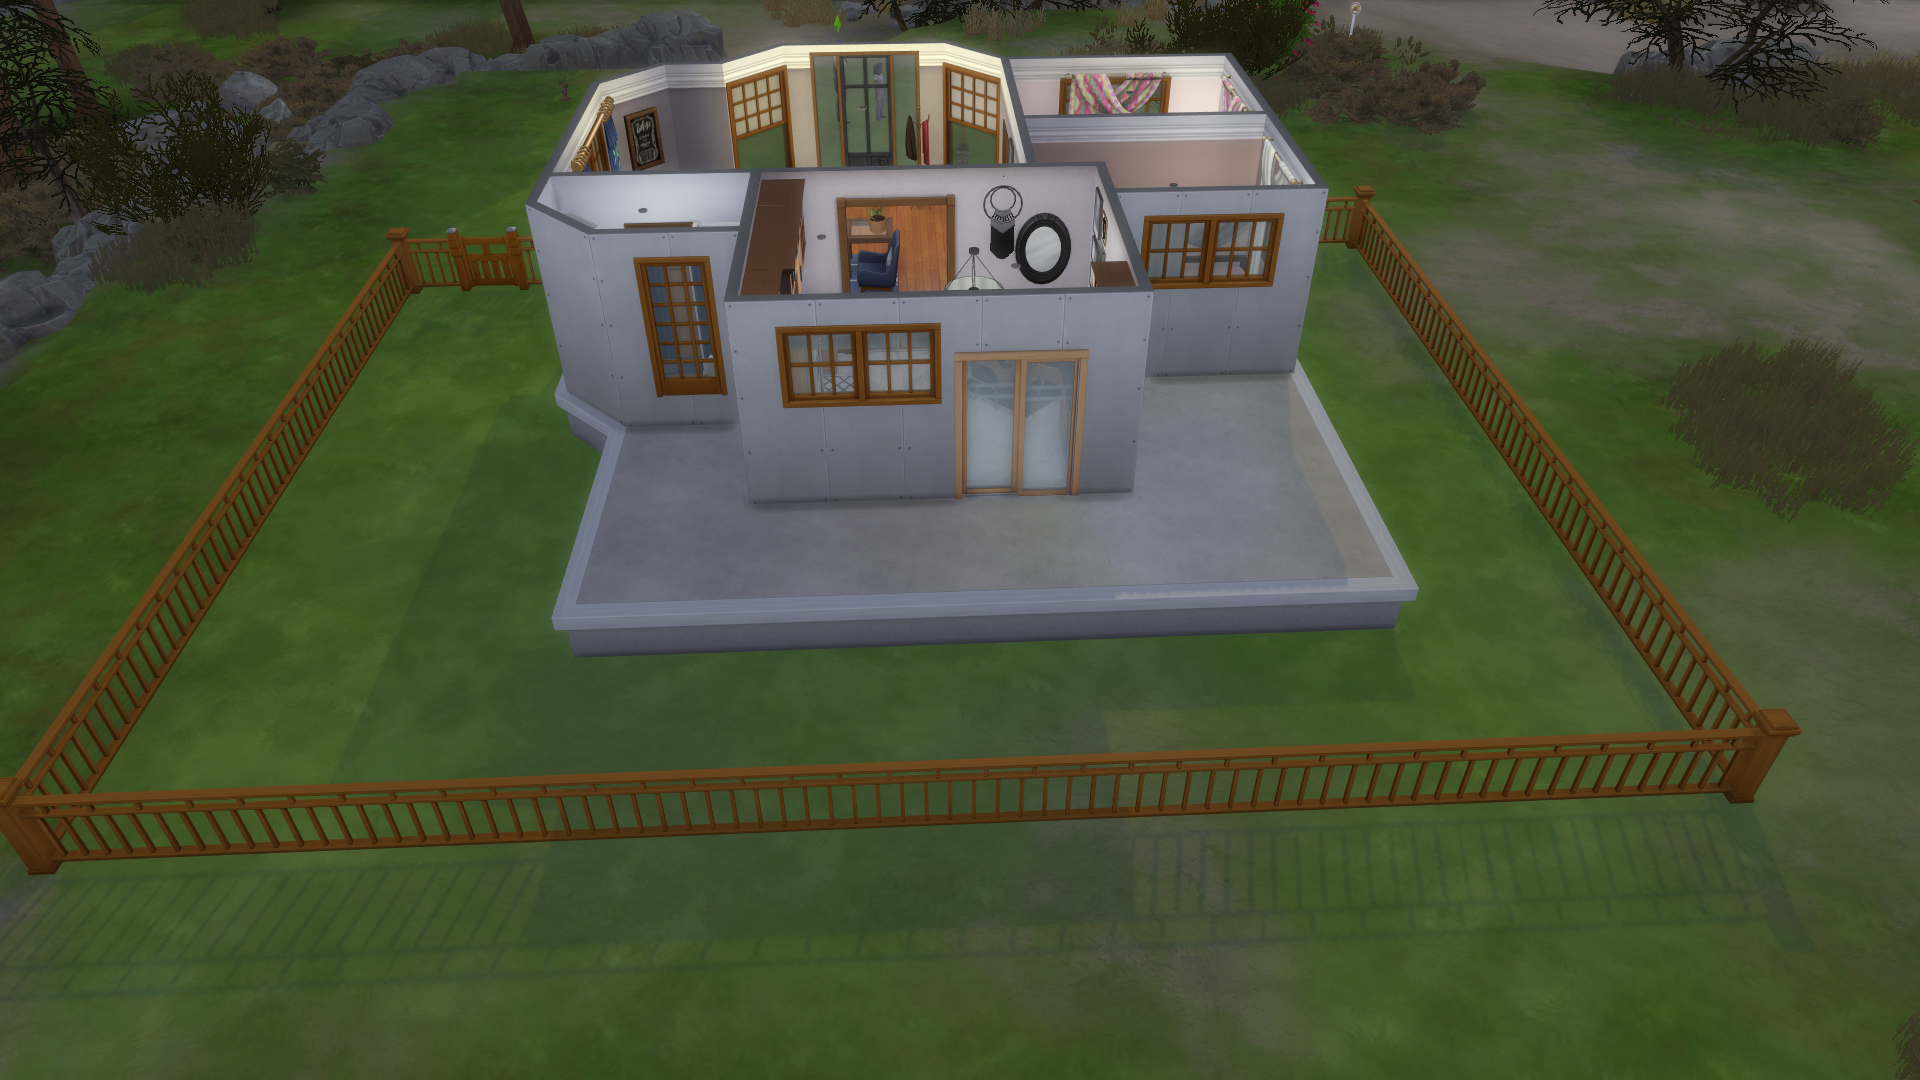
Before adding my patio area, I added a fence–not every yard needs a fence, but I thought that this property would benefit from one. This is the step where you can add any big features you want in the yard–while I placed a patio, this is also the time where I would place a pool or greenhouse as well. These areas have large footprints (they take up a lot of yard space), so placing them first means you have enough room for them going forward instead of worrying about placing them later on (I have made that mistake too many times to count!). Once you’ve got your big stuff placed, you can start placing yard activities.
3. Add skill building activities and features.

Sims have about a million skills that they can improve on, and why not take those skills to the great outdoors? For this household, I placed a set of monkey bars for the child Sim and a grill, garden plots, and yoga mat for the adult Sim. The yoga mat can be hard to fit in smaller homes, so adding an outside area for working on the skill means my Sim can work on it without the interior feeling overwhelmed. Objects like the monkey bars and gardening plots are meant to be used outside and can be really helpful when adding skill furniture to your Sims’ homes. Once you’ve got your skill-based objects placed, we can move onto decorating.
4. Decorate the skill building areas.

Now you can add some decorations to the skill building areas you added in the last step. For me, this included a patio set with a table and chairs as well as some dirt terrain paint underneath the monkey bars and the garden. I also added a flower arranging station that I forgot to add in the last step, which fit really nicely under the window at the back of the house. These added touches help make the space feel a little more realistic–the garden surrounded by dirt and the monkey bars with a soft landing area makes it feel like a real yard instead of an in-game one. Finished decorating? Let’s move on to trees and bushes.
5. Add trees and bushes.

Landscaping can be one of the most fun–and one of the most challenging–parts of exterior decorating. I like to start big and work down to smaller plants, so in this step we’ll just be adding trees and bushes. Unfortunately, it was winter in my game, so the trees are a little sad looking and bare, but trust that when my game gets back around to summer they’ll provide lots of lovely shade. I like to use bushes as dividers between different areas, so I placed them around the outline of the patio instead of a traditional railing for a more natural look. I made sure the trees I chose wouldn’t overwhelm the small lot–a lot of the default trees are huge, so I usually opt to size them down before placing them. Once you’ve got your trees and bushes, we can move to smaller plants.
6. Add flowers and other decorative plants.

Since it’s winter in my game, I mostly added potted plants that would look nice year-round to the patio area instead of using exterior plants. If you really want to go ham on the flowers, make sure to place them in the late spring or summer, when you’ll get to see what they look like in full bloom and color. This yard doesn’t have a ton of space for extra flowers, so I opted to just build in the current season, but waiting for summer blooms is definitely the way to go if you love florals. Got your plants placed? Let’s do some finishing touches!
7. Add finishing touches.

Finishing touches time! Time to make the yard feel lived-in. For this step, I opted to add a stone path around the yard to make the areas feel more intentional. The path I added is meant to look a little weathered and worn, so I used the round spray brush on half opacity to create the look I wanted. If you want a really clean, square path, using the square brush on full opacity is definitely the way to go. Don’t be afraid to draw your paths a few different times to see what you like. Once you have your finishing touches, it’s time for painting.
8. Paint the house.

I like to wait until the end to paint my houses so I can see what color looks best with the features I’ve added. I went with a pretty classic medium blue here, but a red or a green would also look nice too. Playing around with paint colors is a really fun way to end your builds and I highly recommend it–it takes away a lot of the stress of picking a color as well, because you already have your whole yard designed. Picking colors with a blank yard stresses me out a little too much now for me to ever go back to painting at the start.
8. Ready to play!

Thanks for reading the third edition of TSR’s Book of Building: Exterior Decorating! Feel free to request what build guides you want to see in the future, and be sure to follow me on twitter at @TSRPaige. Interested in more build content? Check out Book of Building: Interiors or Room Reno: Exteriors. Looking for something else? Read our Room Reno: Chef’s Kitchen or Room Reno: Autumn Yard!