
Humor
A Giant Lawn Chair Is Hovering Over The Sims 4’s Oasis Springs
The Sims 4 is infamous for its bugs, glitches, and just general silliness. It’s one of the many qualities that make The Sims ...
Humor
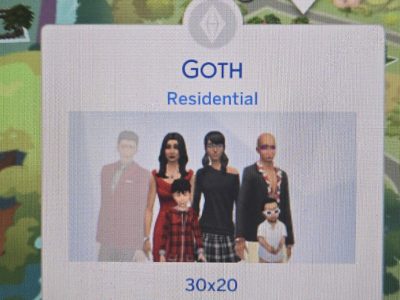
The Sims 4’s Goth Family Just Uprooted Itself to Innisgreen
When left to their own devices, townies will do as they please. Adopting as many cats as they can, or divorcing their partner ...
Humor
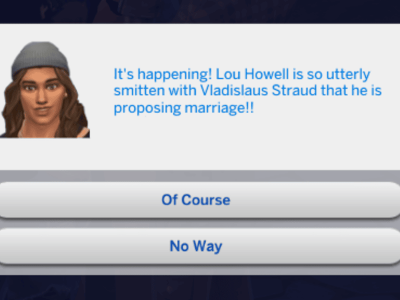
The Sims Player Turns a Vampire-Werewolf Feud Into a Romance
Lou Howell and Vladislaus Straud, united in matrimony. What a coupling. Certainly, not a pair that we’d expect to see around Moonwood Mill. ...

CC Finds
10 Must have Summer Wedding Venues for your Sims 4 World
For many of us, summer will be here soon, so let’s look at Summer Wedding Venues for your Sims! The Early and late ...

Humor
Sims 4 Werewolf Toddlers Can Eat Raw Meat, and It’s Adorable
We all know that a good steak really hits the spot. The same can be said for werewolves in The Sims 4! They ...
Humor
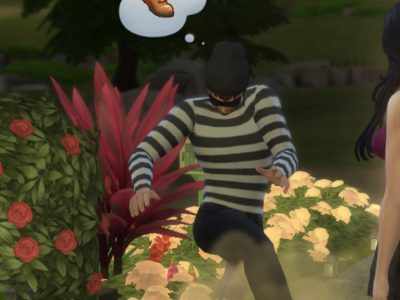
A Sims 4 Robber Picked the Wrong House With This Ghost Cat
They come in the night as quiet as a mouse, sneaking through your house. You never thought it’d happen to you, so you ...

Humour
The Sims 4 Player’s Endless Pizza Deliveries Had a Simple Fix
Pizza. Loved by most. It’s been delivered to many households across the world, and that is no different in The Sims 4. But ...

Updates
The Sims 4 Gallery Search Just Got Easier With SimSearch Beta
Meet Sim Search, a new way to use the gallery! Electronic Arts has released two new beta gallery features called Cross Language and ...
Updates
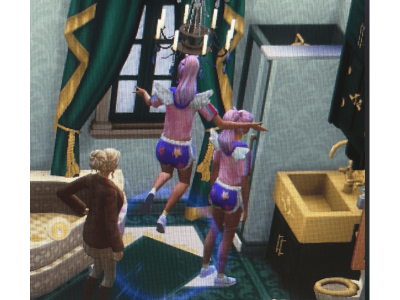
The Sims 4 Player’s Imaginary Friend Suddenly Turns Into Three
Sometimes the game glitches in the most interesting ways. Sometimes it’s babies turning into voids; sometimes it’s your Sims constantly getting abducted by ...

CC Finds
Sims 4 CC Finds – Gemini Zodiac Sign CC
It is Gemini Season! In this CC Finds, we are going to take a look at some Gemini Zodiac Sign CC for your ...