When creating your patterns and textures for Sims 3, you may need to work with TIFF and/or PNG files.
Export
Double click a texture thumbnail in TSR Workshop 2.0 to open the Image Editor. Then click Export. ![]()
From the drop down list you can choose which format you want the texture export to.

Export, Import, Export, Import and so on of the same texture will have a quality loss as a result. Make sure you keep the original bitmap somewhere on your hard disk.
TIFF Layer and Channel Setup
The texture needs to be reduced to the background layer.

Whereas the alpha needs to be added as a fourth channel.

PNG Layer Setup
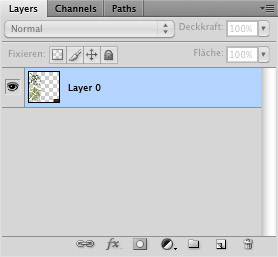
For PNG make sure you have the transparency (alpha) already present in the layer.

Import
In the Image Editor click on the Import button. ![]()
From the next dialog choose from the dropdown list which file type you want to import.

After you’ve opened the file, this dialog will show:

Tick Enable Alpha Channel if you wish to use an alpha for this texture.
- Keep current alpha: Will use the existing alpha in the image file if one is present.
- Fully opaque (white): Can be used in certain cases where you explicitly need a white alpha and none is present in your current texture file.
- Fully transparent (black): Can be used on specular textures in case you don’t want an environment reflection on your object.
- Set from grayscale image: in case your graphics program doesn’t let you work with alpha channels in a comfortable way, make your own greyscale image and load it in with this feature.
Click on Continue to commit your settings and return to the Image Editor.
And that’s it for working with TIFF and PNG files for your Sims 3 textures!


