
With EA, The Sims is resolving a lot of bugs and other issues within the game with patches and updates, it is important to know what to do before a Sims 4 game update. This is especially true if you use CC or mods in your game. There was a large update in early November, and there is another update on December 2nd with over forty more fixes. To find more about these updates, you can read the official article HERE.
Step 1 – Back Up Saves
Fortunately, a lot of The Sims 4 Patches and Updates are pre-announced, so for the majority of them, you have time to back up your files. I personally do it before every major update, before I open the EA App to update my Sims 4 game.
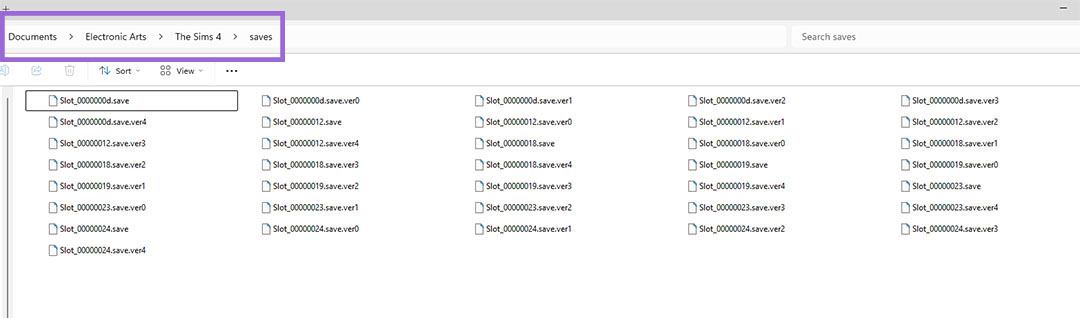
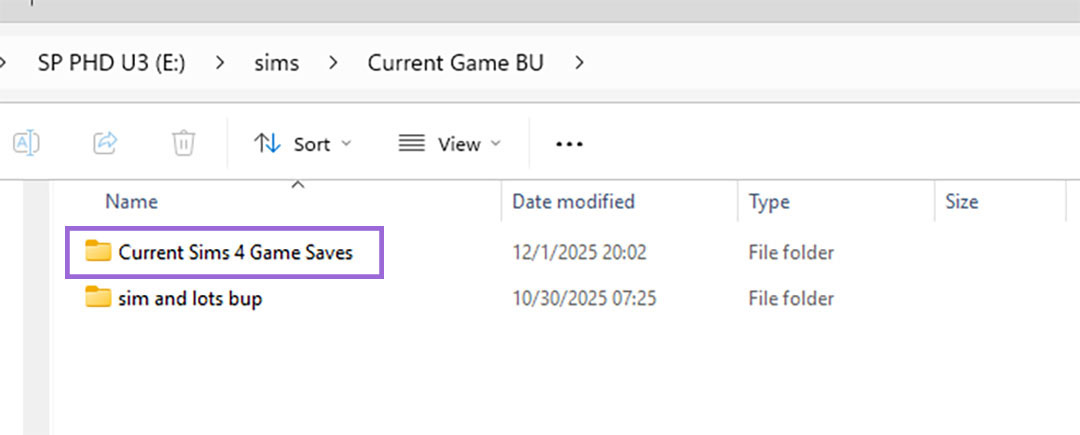
To back up your Sims 4 game save, all you need to do is make a copy of this folder – Documents\Electronic Arts\The Sims 4\Saves and put it somewhere safe on your computer or drive. I personally use an external hard drive and have a folder called “Current Sims 4 Game Saves.”
Optional Step – Back up your Mods Folder
Many Simmers find it useful to also back up their Mods folder, which can be found – Documents\Electronic Arts\The Sims 4\Mods. Many Simmers report that they would put this backup folder in a larger folder containing both their Mods and Game Save Backup folders.
Step 2 – CC and Mod Files Moved
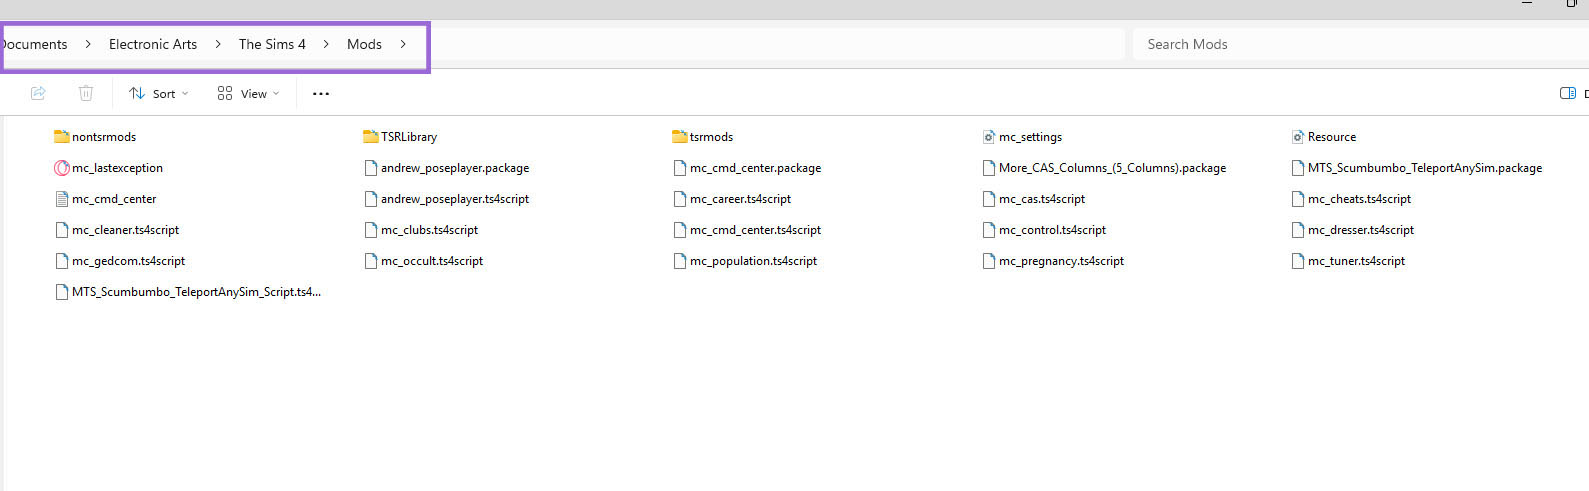
The next step after backing up your save is to move your CC and mod files found in the following folder – Documents\Electronic Arts\The Sims 4\Mods out of the game files. I generally make a file on my desktop called ‘Sims 4 Mods.’ I drop all my downloaded mods and CC files in it.
Step 3 – Update Game
Now, for step three, updating your game. Just follow the prompts on EA Play to update your Sims 4 game.
Step 4 – Start Your Game
Alright, now it is time to launch your game one time without CC or Mods. This step is just to check to make sure the game runs and loads properly with the new patch or update. However, do not save the game, as your CC and Mods have been removed.
Step 5 – Re-Enable Mods (if needed)
If the game worked well for you after the update or patch, now it is time to re-enable your CC and Mods. To re-enable your CC and mods, you must be in your Sims 4 game. Go to the top right corner of your home screen and click the three dots. This will open a pop-up menu with multiple options. Select Game Options from the menu. Then, on the left side of the Game Options menu, you will select Other.
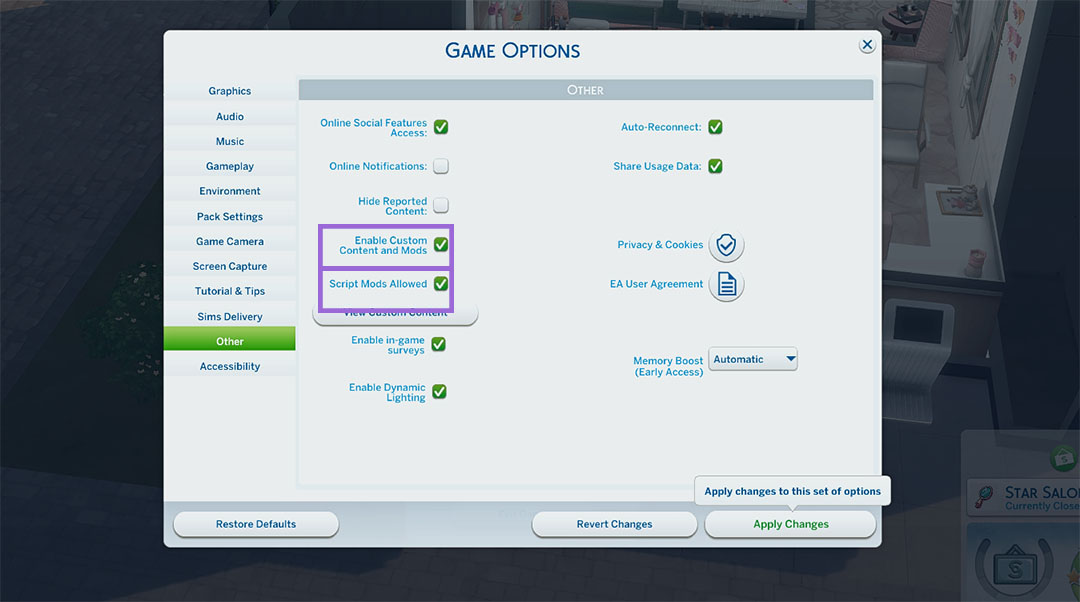
On the Other screen, you will see, towards the middle, a checkbox that says Enable Custom Content and Mods. Recheck that it was turned off in the update. If you use Script mods, you will also want to click the checkbox next to the Script Mods Allowed Option.
Once you have the needed options for your game selected, you will need to save your settings and close the game.
Step 6 – Check Mods for updates
Before I put my mod files back into the game, I always check for script mod updates. I typically only use about ten script mods, so it is quite easy for me to check.
Some Simmers even find that having a spreadsheet with a listing of their script mods is helpful. I have made a Google Script Tracking Sheet if you would like to copy it and use it for your script tracking. If you have a Gmail Account, all you have to do is go to the top left corner and click File, and then Make a Copy. Once you have done that, you will then have your own copy of the Script Tracking Sheet in your Google Drive. If you do not have a Gmail Account, you can download the sheet as a Microsoft Excel Sheet from the File dropdown Menu. Once you have it downloaded, you can then open it in a program that reads .xlsx files.
Optional Step – Clear Sims 4 Cache
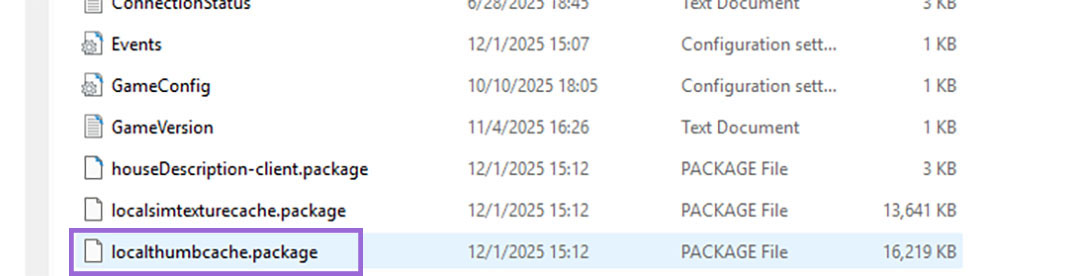
An optional step that many Simmers take before reinstalling their CC and mods in the mods folder is to clear the cache. Particularly by deleting the localthumbcache.package in Documents\Electronic Arts\The Sims 4. This is something a lot of us do when we install new mods or update the current mods we have, so it becomes part of the routine.
Step 7 – Move Mod Files back into the Game

Alright, now that all of the previous steps are complete, you can start moving your CC and mods files back to your Mods folder – Documents\Electronic Arts\The Sims 4\Mods.There are a few ways you can do this, and it depends on your personal preference and how many CC and mods you have.
The Sims 4/EA recommends on their patch/update steps to do a 50/50 method, where you put half of your CC in at a time, run the game, and make sure there are no errors.
You can also move the files back by folder if you sort your CC. A lot of Simmers create folders for CC and mods by artists or types of CC.
Or you can do what I do… and drop it all back in and run the game and see if there are any errors. If there are errors, then check the lastexception file to see what might be giving the issue. If I get an error, and quarantining or moving the mod in the lastexception still doesn’t work, I then go folder by folder (my mods and CC are by artists), putting items in and out to find the error.
Final Thoughts

Updates and Patches can create a lot of anxiety and stress, as if something goes wrong and corrupts your game save that is hours, days, or even longer of played time. I personally experienced this with the update after For Rent. It was so bad and catastrophic that I just reinstalled the entire game and all my CC. Fortunately, I had saved and backed up my favorite Sims and builds. At that time, I had over 425 GBs of mods and CC. Since then, I have been pretty lucky, and if I experience issues, they tend to be UI script-related issues, so I know to always check those first.
I hope you find this information helpful. We have more tutorials coming soon, so until then, Happy Simming!