
Geostates are used to display custom ranges of mesh data in
the game. A good example are bookcases in the game which
fill up with books depending how many are virtually
included in them.
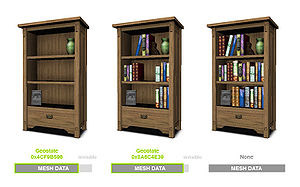
Geostate Case Example
Assign Geostates in TSR Workshop
Visible Geostate
In the Mesh tab you can use the dropdown menu on the
original EA mesh to figure out which mesh parts are visible
with each geostate.

Face Selector Editor
Mesh tab → Group [X]→ Geostate [Hash] → ![]()
Assigning Faces to Geostates
With Click’n’pick, Freehand and Basic square you have different selection
tools on your hand for the 3D viewport. Tick Ignore backfaces if you only want to select visible faces.
Deselect Faces
With holding down SHIFT you can deselect faces.
Click on Clear to deselect everything (or use the arrow to Select All)
View Controls
- ALT + Left Mouse Button (Pan)
- CTRL + Left Mouse Button (Rotate)
- Right Mouse Button (Zoom)
After you selected everything you wanted, click Done to
save the changes.
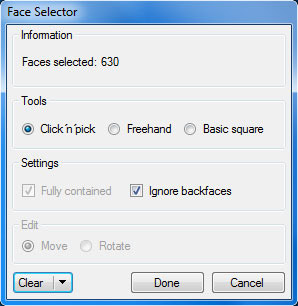
Face Selector