In The Sims 4, Custom Content (CC) allows players to enhance their gameplay experience with unique styles, furniture, and clothing beyond what is available in the base game and official packs. One particularly charming use of CC is creating or downloading matching outfits for mothers and their children. These coordinated ensembles can include cozy pajamas, stylish everyday wear, or elegant party attire, adding a sweet and personalized touch to family gameplay with matching outfit CC for your Sims.
Matching Outfits
I always enjoy seeing matching outfits for Sims. It’s a charming concept to incorporate into your game, reminiscent of a real-life family photography session. Pairing outfits for your Sims can create delightful moments and add a personal touch to your gameplay.
In our household, we always dress in coordinating outfits for vacation photos and special holidays. There’s something heartwarming about seeing the entire family in matching attire, whether festive sweaters for winter celebrations or fun, colorful outfits for summer adventures. The teenagers are really the only ones who do not appreciate this, but they enjoy the photos afterward.
Incorporating matching outfits into your Sims’ lives can be a joyful experience that enhances gameplay and creates memorable moments. It’s a fantastic way to celebrate family unity, even if it means navigating the occasional teenage rebellion!
Look # 1 Perfect Match

| Mom Dress | Child Dress | Toddler Dress | Adult Hairstyle |
| Child Hairstyle | Toddler Hairstyle | Child Earrings | Toddler Earrings |
| Adult Shoes | Child Shoes | Toddler Shoes | Mom Necklace |
Look # 2 Business formal plaid

| Mom Dress | Toddler Outfit | Mom Hairstyle | Toddler Hairstyle |
| Mom Shoes | Toddler Shoes | Mom Earrings | Mom’s Skin Overlay |
Look # 3 – Black bow dresses
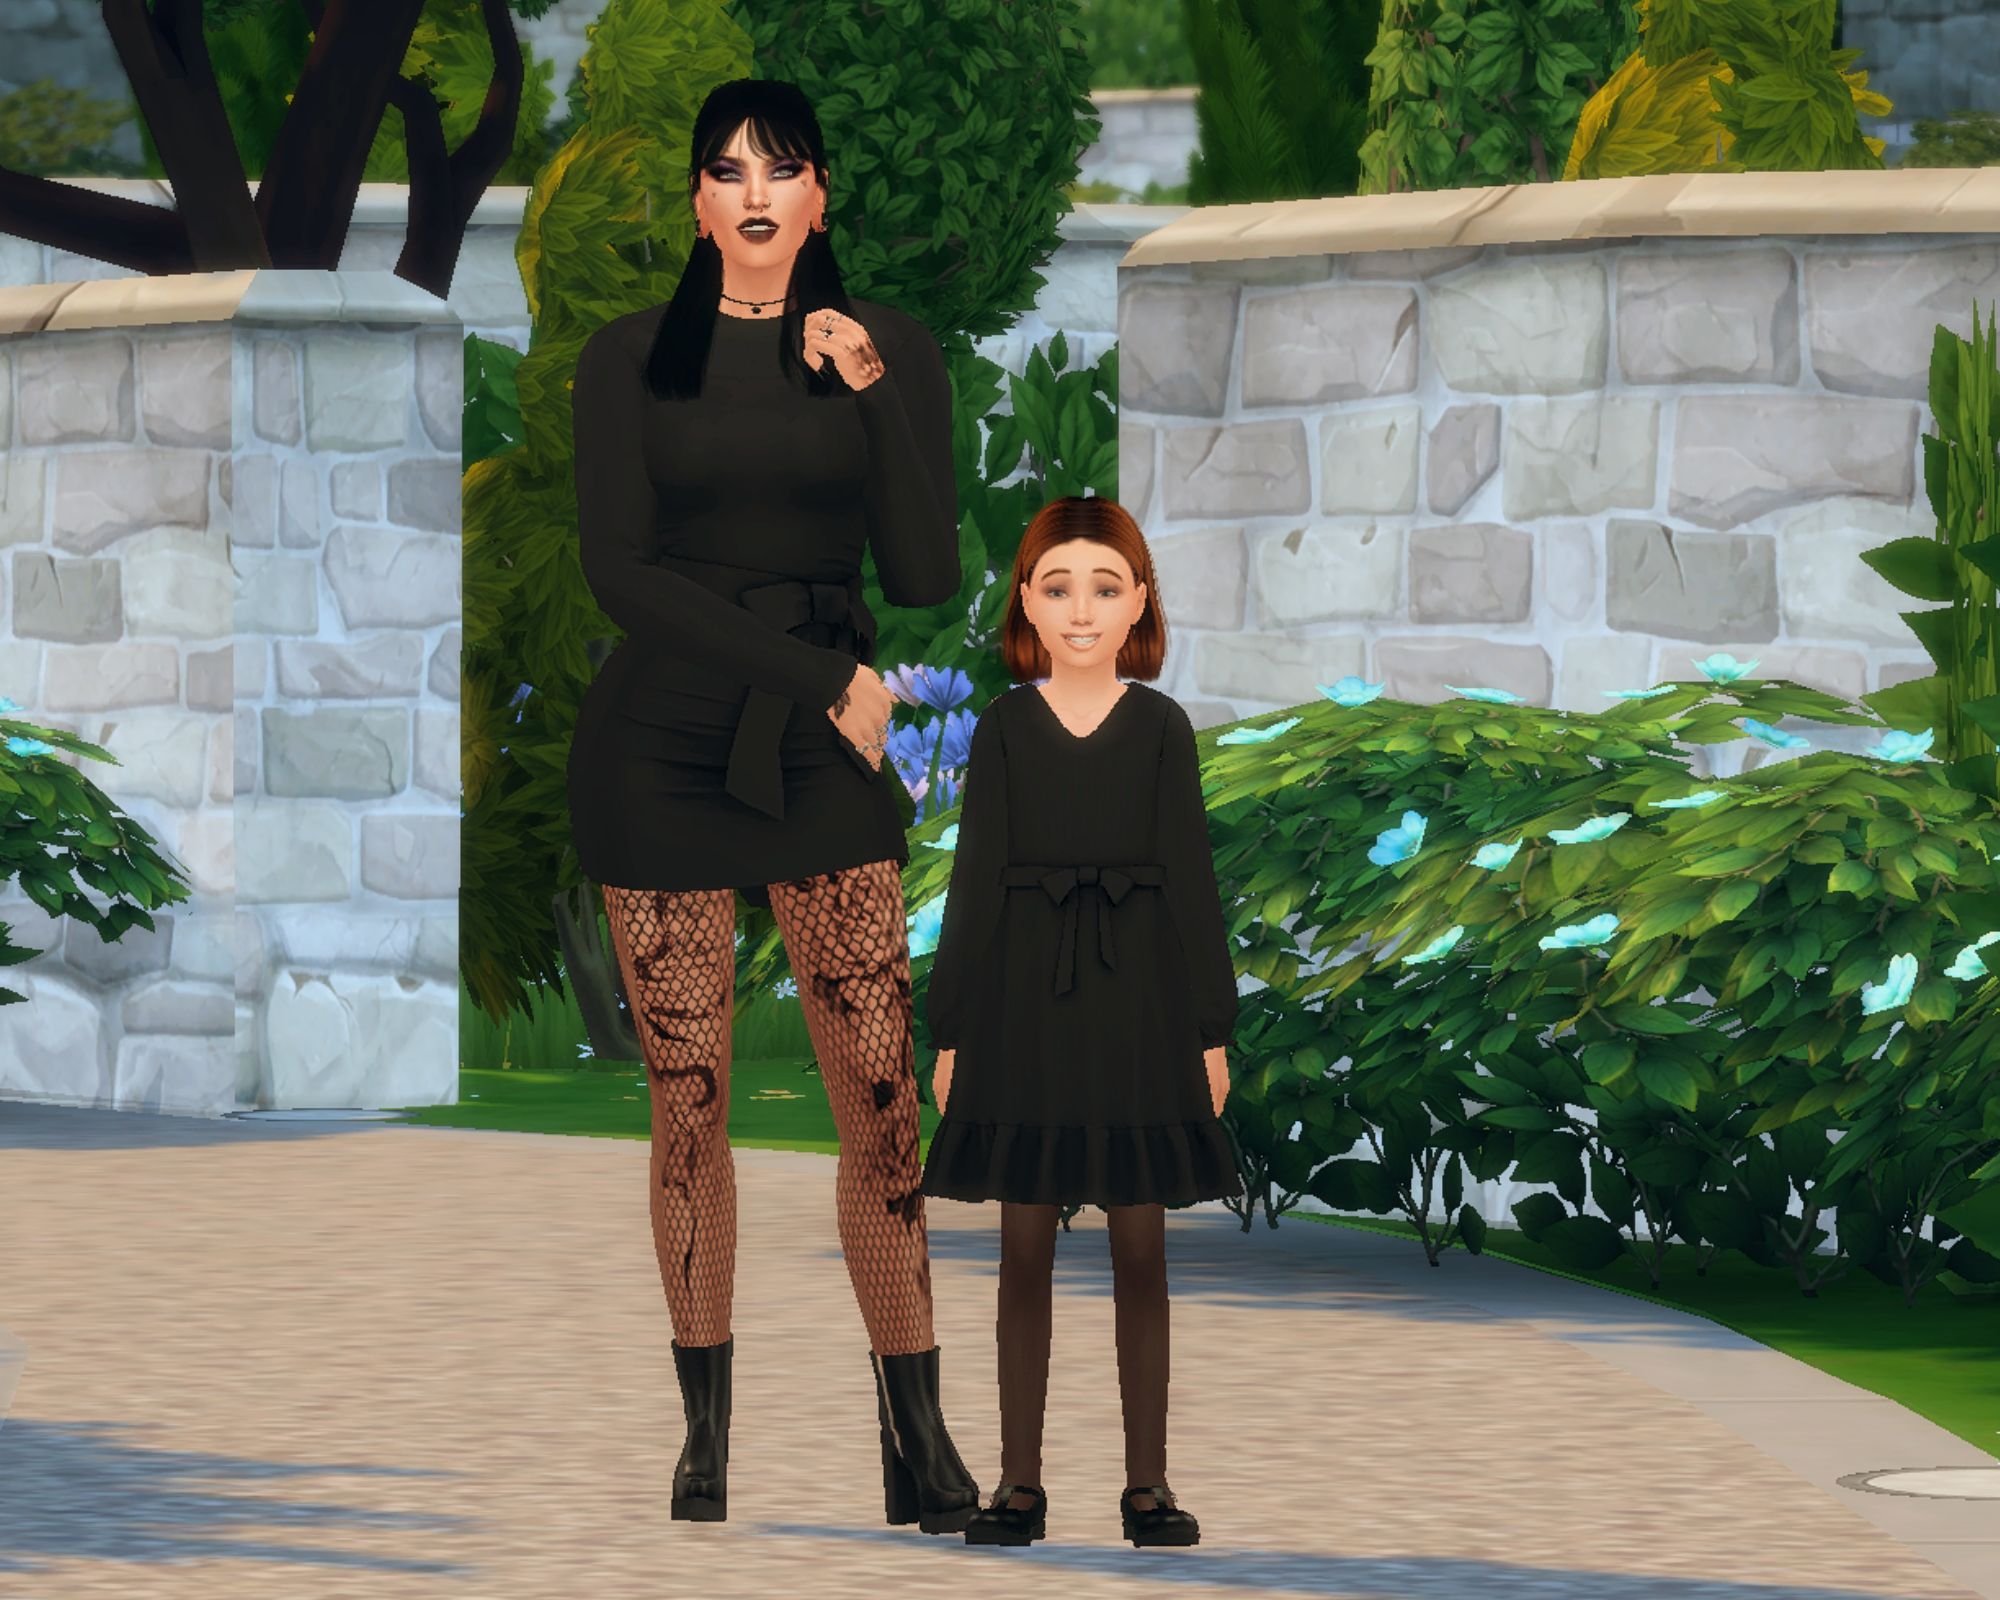
| Mom Dress | Child Dress | Mom Hairstyle | Child Hairstyle |
| Mom Shoes | Child Shoes | Mom Piercings | Mom Necklace |
| Mom Leg Tattoos | Mom Face Tattoos | Fishnets | Mom Eyeliner |
Look # 4 swim clothes
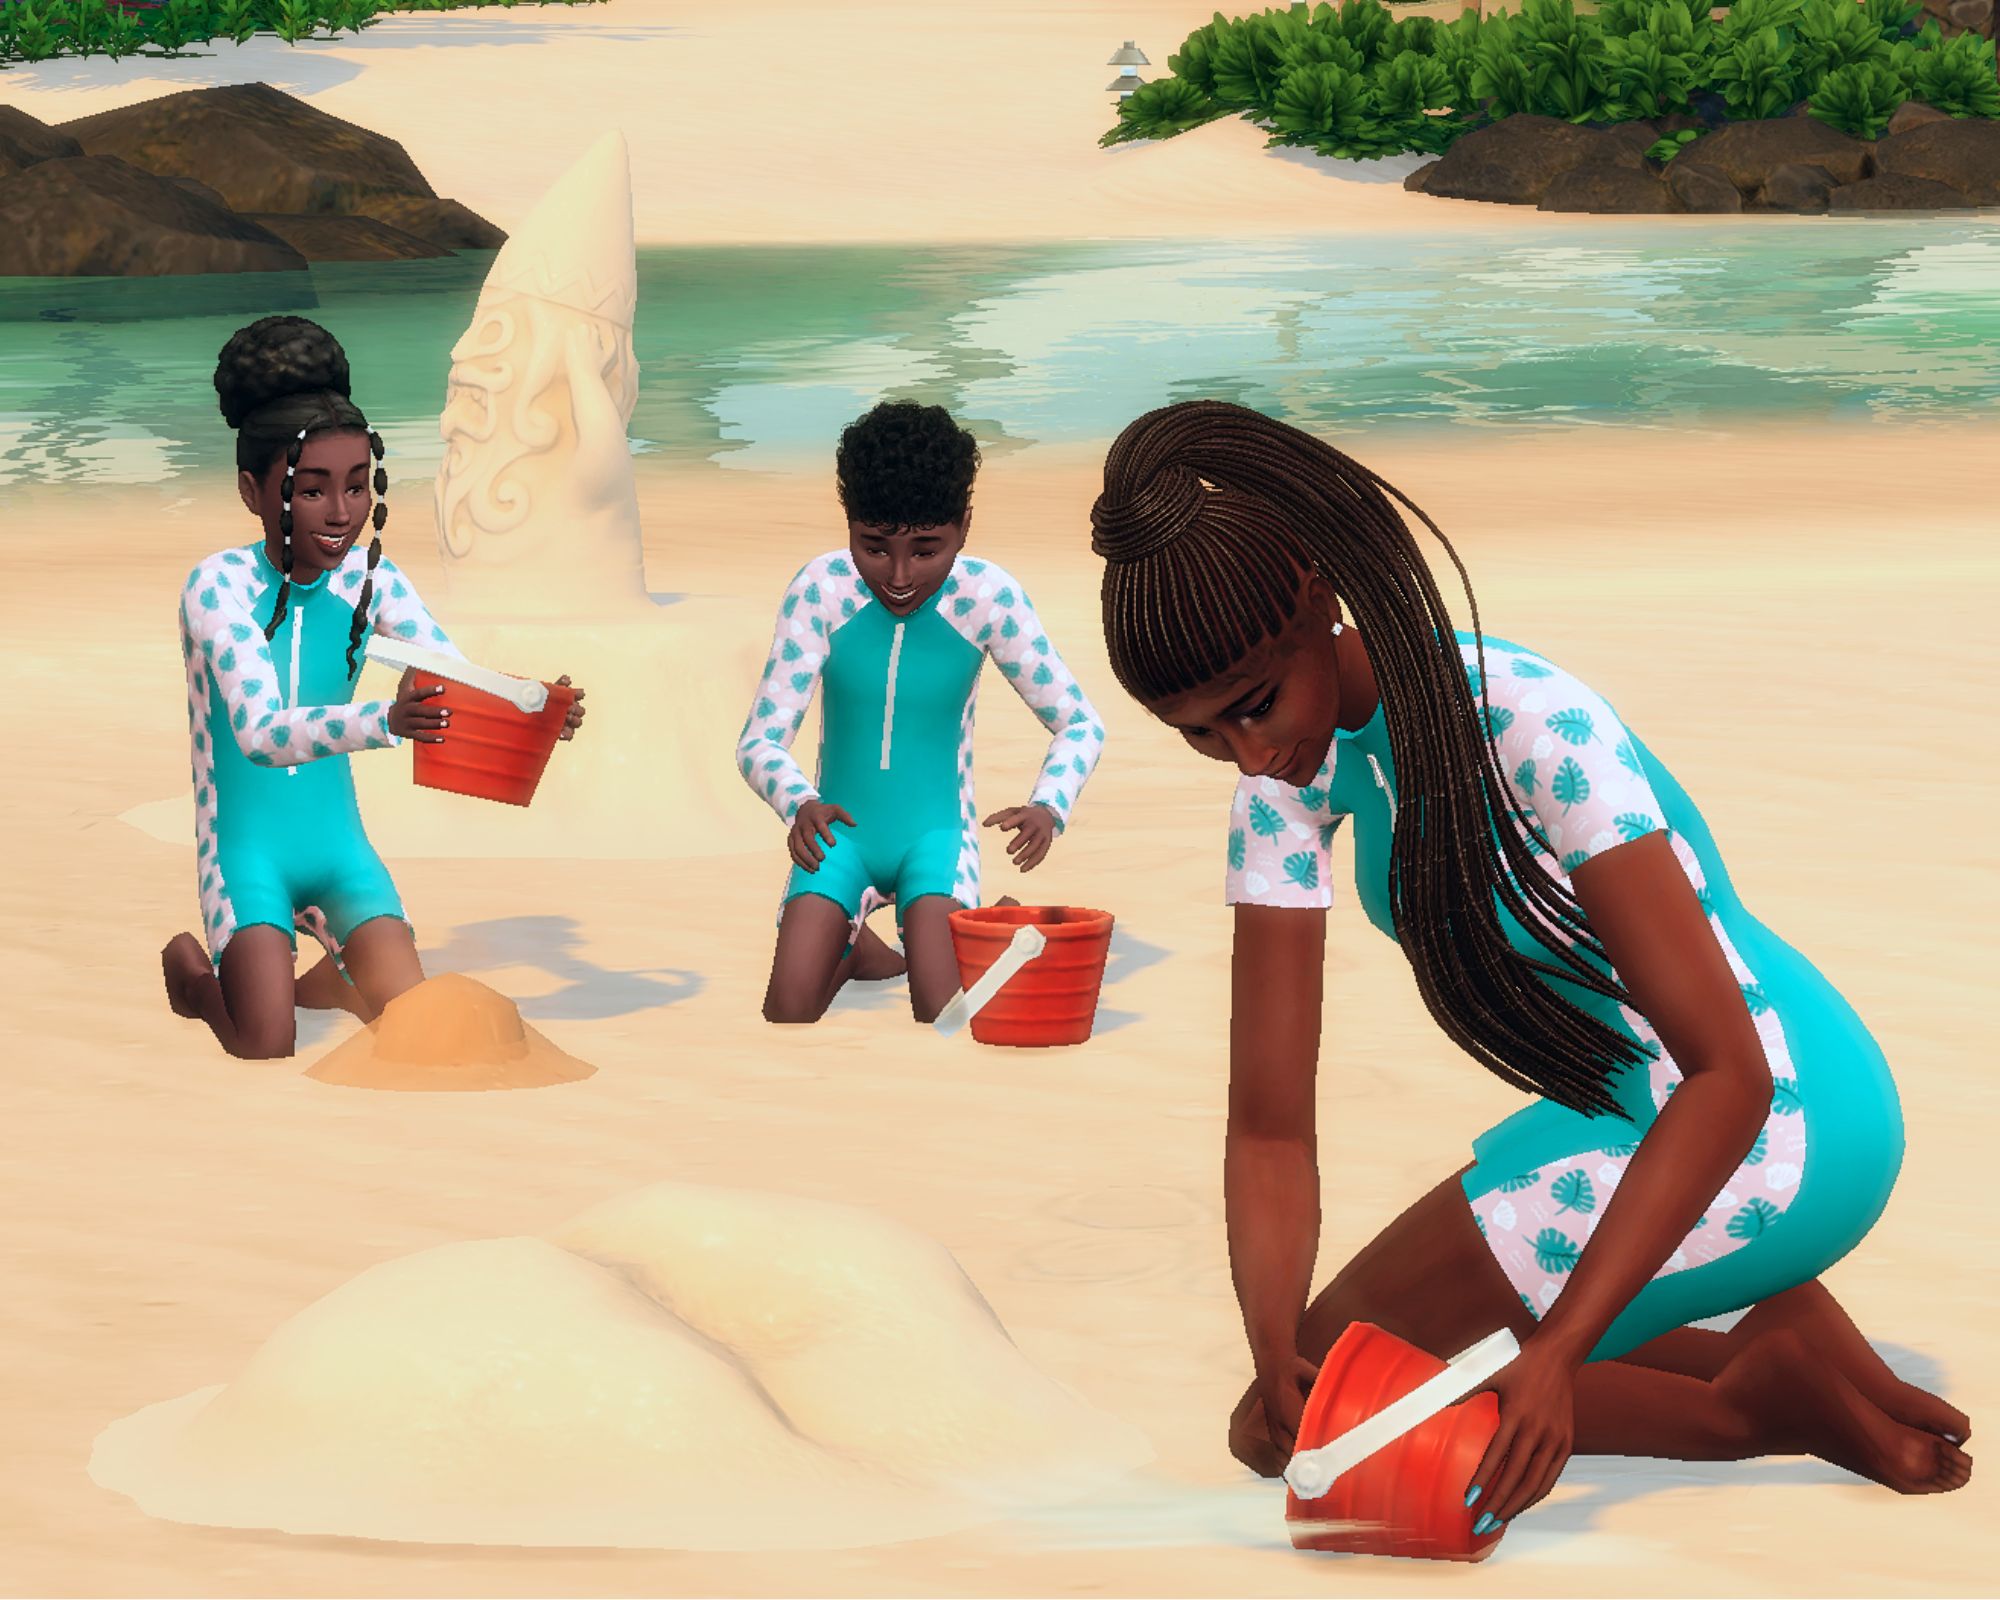
| Mom’s Outfit | Children’s Outfits | Mom’s Hairstyle | Child’s Hairstyle |
| Child’s Hairstyle | Mom’s Earrings | Mom’s Skin | Mom’s Eyebrows |
Summary
I wanted to create various looks for this blog that complemented the mom and the child. I selected four themes and am very pleased with the outcome. Only two of the four outfits are actual matching sets; the other two are pairs that I coordinated to achieve a cohesive look. With these four outfits, I have included over thirty-five links to TSR CC. I hope you enjoyed this blog, and until next time, happy downloading!
Jezi’s Social Links – X, Instagram,& TSR Favourites Page