The Enchanted by Nature Build and Buy items for The Sims 4 introduce a delightful range of magic, whimsy, and charm to your game. Inspired by lush forests, overgrown ruins, and fairytale gardens, these items are ideal for creating dreamy cottages, peaceful nature retreats, and mystical woodland homes. This nature-themed set features beautifully detailed furniture, rustic décor, and organic textures that inspire creativity and storytelling. Whether you’re designing a hidden glade or a magical forest sanctuary, the Enchanted by Nature additions provide everything you need to transform your Sims’ world into an enchanting escape.
About the Pack

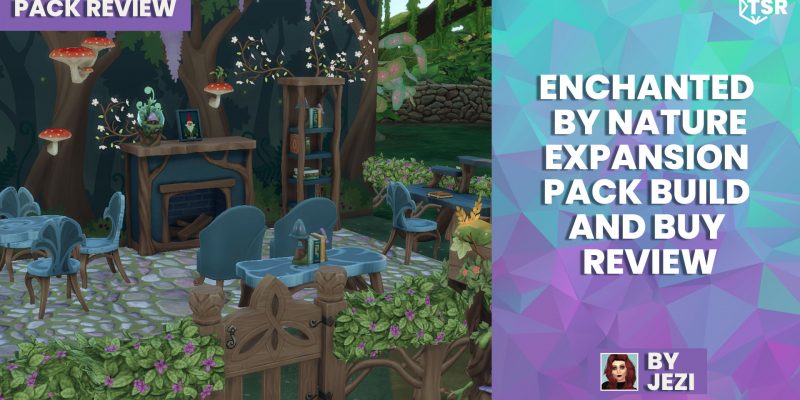
Enchanted by Nature is an Expansion Pack for The Sims 4 that offers a focused yet rich selection of content centered around a magical, nature-inspired theme. This particular Expansion Pack emphasizes rustic fantasy aesthetics. This offers players a curated mix of Build/Buy objects and Create-a-Sim items designed to immerse Sims in a world where nature and enchantment blend seamlessly. It’s perfect for storytellers, builders, and anyone looking to add a touch of fairy-tale charm to their game.
Enchanted by Nature Build Items
The Enchanted by Nature Build items in the Sims 4 feature rustic doors, arched windows, ivy-covered walls, and natural stone. All perfect details for a fairytale aesthetic. You can create cozy cottages, forest hideaways, or ancient ruins. Each item blends seamlessly with its surroundings, allowing you to craft enchanting spaces that feel both magical and grounded.
Floors and Walls

This pack includes some additional walls and floors that align well with the Fairy garden and outdoor aesthetic theme, complementing the overall expansion nicely. While the pieces are nice, they lack a distinct ‘Wow Factor’ for me, so I would rate the floors and walls a 5 out of 10.
Windows and Doors

There are several windows of various sizes that you can use to decorate your fairy-inspired garden or lot. From my perspective, there are almost two sets of windows: the more organic-shaped ones and those with artistic, clean trim. Some of the windows also feature decorative swatches that create a mystical stained glass effect. I really appreciate both sets of windows; they are great additions to The Sims 4. Therefore, I would rate these windows an 8 out of 10.

The doors resemble the windows in their set design, but they include a few additional elements. We offer both organic and clean artist styles, as well as a decorative white door. Each door comes in a variety of swatches, including pastels, natural tones, and dark tones. I would rate the doors a 7 out of 10.
Other Building Materials

The building items are very nice and perfectly suited for the theme, enabling users to easily create whimsical fairy cottages. There are also new roof swatches and roof trims available. I would rate these items an 8 out of 10, as I really appreciate the addition of plants for roofs and decorative wall pieces.
Enchanted by Nature Buy Items
The Enchanted by Nature Expansion Pack features a diverse range of decorative items. You’ll find whimsical lanterns, botanical wall art, cozy rugs, wooden furniture, and nature-inspired accents. These charming additions help bring a touch of woodland magic to living rooms, bedrooms, and outdoor spaces. They add warmth and texture while creating a fairytale-like ambiance. The Enchanted by Nature Expansion Pack makes it easy to enhance your Sims’ homes with captivating flair.
Furniture

The Enchanted by Nature Expansion Pack offers a diverse selection of tables, surfaces, and seating options. I appreciate that there are clearly at least three distinct styles: artistic designs, nature-inspired elements, and basic outdoor themes. This variety enables players to incorporate the Expansion Pack into a wide range of builds, thereby enhancing its versatility.

For the furniture elements of this Expansion Pack, I would give the items a rating of 9 out of 10. I really appreciate the variety in styles, and I absolutely love the new kitchen counters, which are showcased in the photos below. Initially, I was skeptical about the outdoor living furniture, but I have to say it’s quite good. The shower, toilet, and bathtub look great, and I believe Simmers will find creative ways to incorporate these into their future builds.
Skill-based Items

For the skill-based items, I think there should be a greater variety available. I was hoping for some new outdoor instruments or art supplies for creation. The apothecary bench matches the counters and cabinets, which makes sense to me. Additionally, there are a couple of sales tents for those entrepreneurial Sims.

The wow factor is essential for me in this section, and I am eager to see some fairy-themed clubs incorporating these items! I would rate these items a 6 out of 10 because there are limited options available.
Fairy Items

This pack includes several charming fairy houses, with one being a bonus item available for purchases made before August 21. Fairies in the game can interact with various items, such as sinks, where they can play in the water, and dollhouses, where they can sleep. I find this feature quite enjoyable, as it reminds me of the Paranormal Pack, where ghosts can haunt objects. I would rate the fairy items a 7 out of 10, as they provide a variety of interactions, but I would like to see more fairy houses added.
Decor Items

So, I’m not a fan of the moss and leaf rug, but everything aside from that, 100% yes. The unicorn rug has several fantasy swatches, some of which even have a dragon on them! The curtains are perfect for achieving that cottage core look, and new backsplashes are ideal for your kitchen! The mirrors are also quite lovely.

I absolutely love the gnomes and am very pleased with the decorative items. There are also a few new gnomes that can be used for decoration, though I hope the fairies don’t bring them to life! Overall, I find the decor to be whimsical and simply adorable, so I would rate it a 9 out of 10.
The Plants
The Enchanted by Nature plant and landscaping items in The Sims 4 add vibrant beauty to every outdoor space. With lush ferns, mossy ground covers, flowering vines, and enchanting trees with twisting branches, these additions help you create a mystical garden or a serene overgrown sanctuary. Complemented by rustic stone planters, natural pathways, and charming garden accents, they allow you to design immersive natural settings that feel alive and magical, making them perfect for any nature-inspired build.
Pots and Shelves

I have to share my thoughts on this: the mushroom shelves are my favorite item in this pack. If I had to rate one section a 10 out of 10, it would definitely be this one—not because of the plants, but because of the shelves and the wall plants.

Furthermore, if you are not using custom content (CC), you can now mix and match pots and plants. This will be a wonderful addition for those who don’t have this feature with CC and mods. Also, take a look at the new fence—it has plants on it as well!
Decor Plants

There are two large plants that fit nicely on the ground and cover a lot of open space. This is also very nice, and I love the variety, from tiny plants to large ones.
Outdoor Plants
Unexpectedly, I couldn’t find any new items without entering debug mode. I may be overlooking them, or this could be a missed opportunity.
Bonus Fairy Garden Digital Content

Image From the Sims 4 Official Website
The Enchanted by Nature Expansion Pack also offers a delightful bonus: the Fairy Garden Digital Content, available exclusively to early purchasers. This exclusive content adds a whimsical touch to your game with decorative features, including glowing mushrooms, delicate fairy lights, and a magical toadstool seat. These playful additions are perfect for enhancing any mystical build or creating a hidden fairy nook in your Sim’s backyard. The Fairy Garden bonus adds an extra sprinkle of enchantment to your Enchanted by Nature experience, making your game feel even more magical. You can receive the bonus items if you purchase the Enchanted by Nature Expansion Pack by August 21, 2025.
Summary
The items in this pack are of pretty good quality and offer a variety of uses for the fairies and outdoor life. There will also be a variety of creative cottage core items that can be crafted with the items in the Enchanted by Nature Expansion Pack.

My favorite items from the Enchanted by Nature Build and Buy pack are the mushroom shelves, along with the new cabinets and counters. I would rate this pack an 8 out of 10 overall. While it may appeal to a niche audience, it can be very useful if you’re interested in fairies, outdoor living, or whimsical cottagecore themes.
Want to read our review on the Enchanted by Nature CAS items? Check this blog out HERE.
